Linkビューは、現在のビューから別の場所にナビゲートするために使用されます。
具体的には、ユーザーがタップしたときに指定した場所に遷移します。
目次
Linkビューの使い方
Link("リンクテキスト", destination: URL(string: "リンク先のURL")!)- 第1引数: ユーザーに表示されるテキスト
- 第2引数: ユーザーがタップした時に、ナビゲートされる移動先のURL
struct ContentView: View {
var body: some View {
VStack {
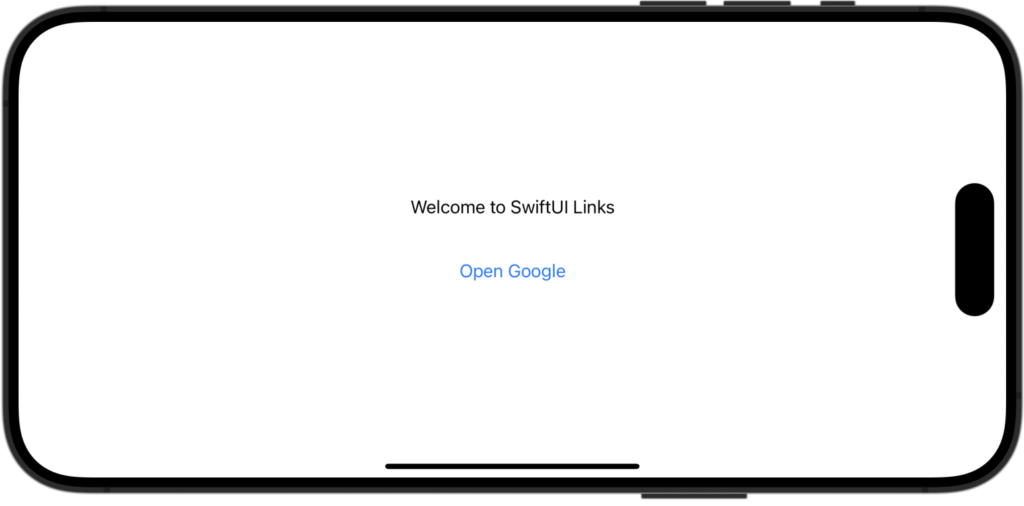
Text("Welcome to SwiftUI Links")
.padding()
// Linkビュー
Link("Open Google", destination: URL(string: "https://www.google.com")!)
.padding()
}
}
}この例では、Linkビューを使用して「Open Google」というテキストを作成し、ユーザーがタップしたときにGoogleのウェブサイトにリンクするようにしています。
Linkのスタイルを変えるには?
Textビューなどと同様に、modifierを使用してスタイリングを行います。具体的には、font()、foregroundColor()、padding()、background()などのmodifierを使用して、リンクの外観を変更することができます。
Link("Open Google", destination: URL(string: "https://www.google.com")!)
    .padding()
    .font(.title)
    .foregroundColor(.white)
    .padding(5)
    .background(Color.blue)
    .cornerRadius(10)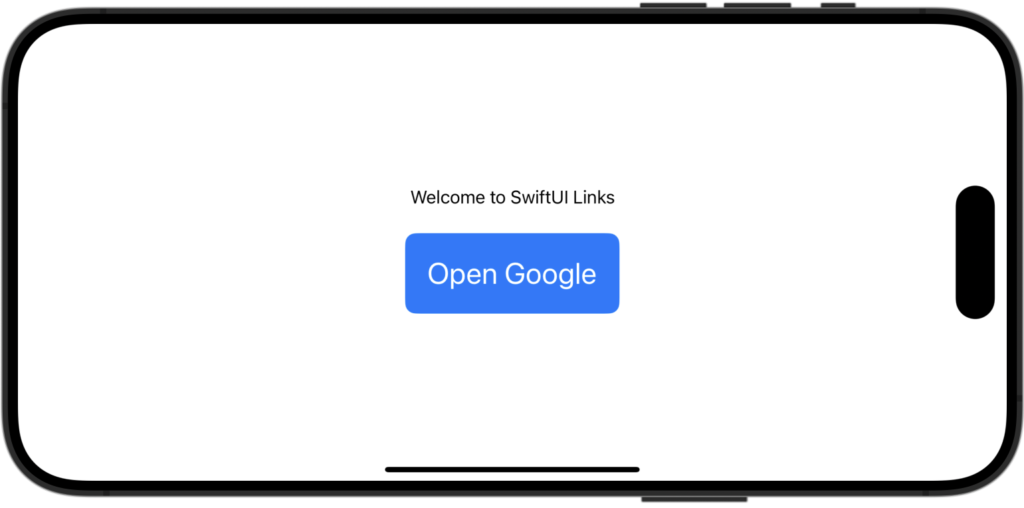
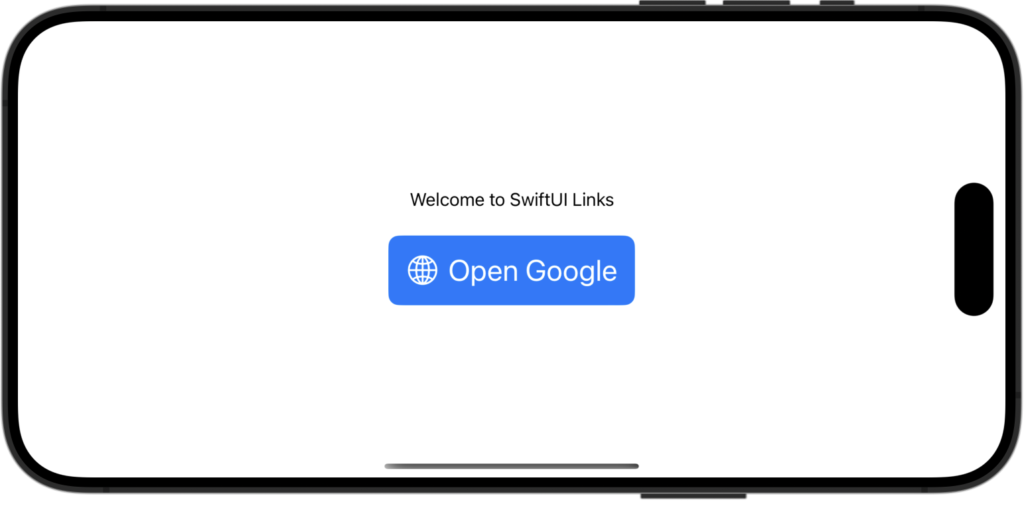
SF Symbolと組み合わせて使う
SF Symbolとリンクのテキストを組み合わせあるにはイニシャライザ内でHStackを使い、SF Symbolとテキストを横並びにします。
// SF SymbolとLinkビューを組み合わせて使用
Link(destination: URL(string: "https://www.google.com")!) {
    HStack {
        Image(systemName: "globe")
        Text("Open Google")
    }
    .padding()
    .font(.title)
    .foregroundColor(.white)
    .background(Color.blue)
    .cornerRadius(10)
}


Comment