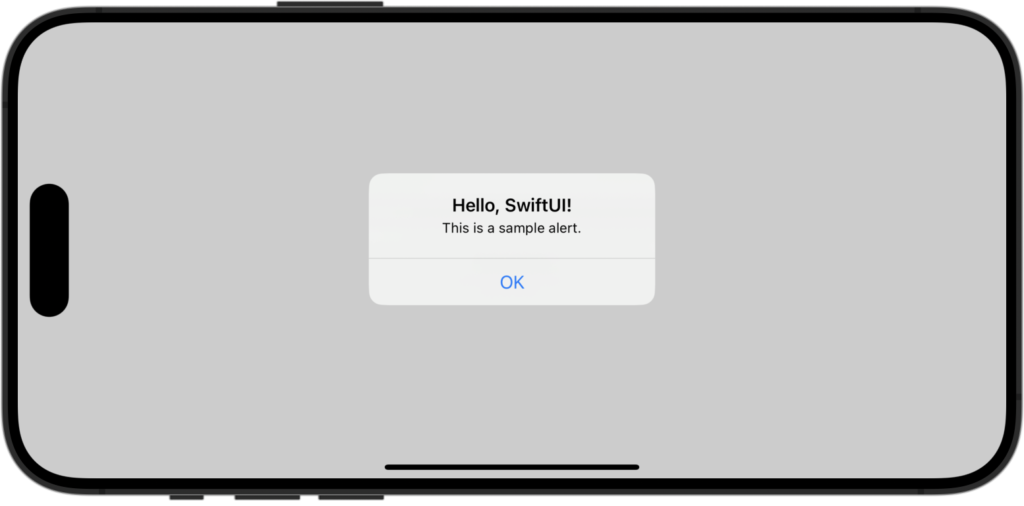
ボタンを押したタイミングでアラートを表示したい場合は、次のようにボタンにalertモディファイアを付けて使います。
このモディファイアは、指定された パラメータが true の場合にアラートを表示します。
struct ContentView: View {
    // アラート表示用の状態変数
    @State private var showAlert = false

    var body: some View {
        VStack {
            // ボタンをタップするとアラート表示
            Button("Show Alert") {
                showAlert = true
            }
            // アラートの本体
            .alert(isPresented: $showAlert) {
                Alert(
                    title: Text("Hello, SwiftUI!"),
                    message: Text("This is a sample alert."),
                    dismissButton: .default(Text("OK")) {
                      // OKボタンがタップされたときの処理
                      print("OK Button tapped")
                    }
                )
            }
        }
        .padding()
    }
}

目次
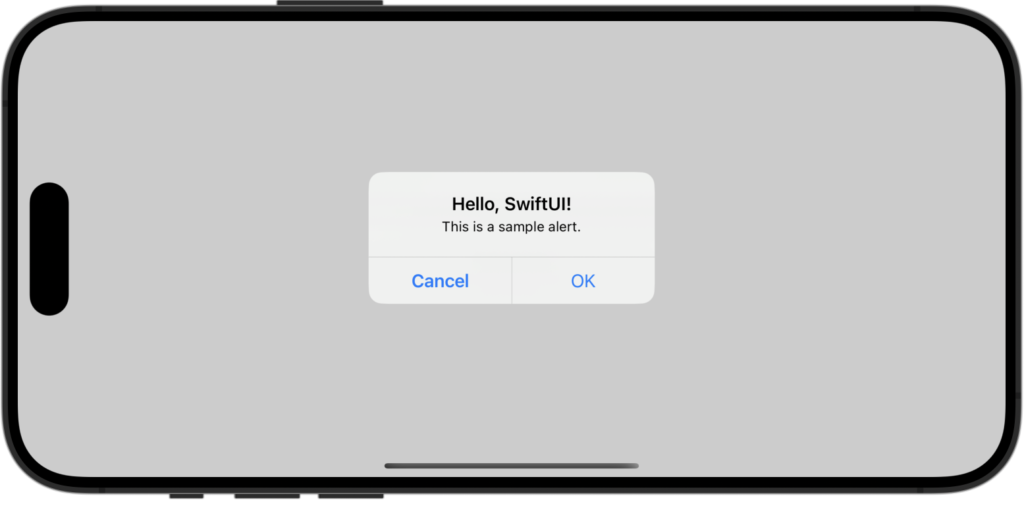
ボタンを2つにするには?
ボタンを2つにするには、先ほどの dismissButton を primaryButton、secondaryButtonに変更します。
.alert(isPresented: $showAlert) {
    Alert(
        title: Text("Hello, SwiftUI!"),
        message: Text("This is a sample alert."),
        primaryButton: .default(Text("OK")) {
            // OKボタンがタップされたときの処理
            print("OK Button tapped")
        },
        secondaryButton: .cancel(Text("Cancel")) {
            // キャンセルボタンがタップされたときの処理
            print("Cancel Button tapped")
        }
    )
}
アラートボタンのカスタマイズ
Alert のボタンには、.default、.cancel .destructive の3つのスタイルがあります。
特徴は次の通りです。
スクロールできます
| プロパティ | 特徴 |
|---|---|
| .default | 通常のデフォルトボタンスタイル |
| .cancel | キャンセルボタンのスタイル iOSでは左に配置されることが多い |
| .destructive | 操作が破壊的であることを示すためのスタイル 通常、削除などの重大なアクションに対して使用される |


Comment